Home About Meet Contact
Showing posts with label Photos. Show all posts

Tuesday, June 11, 2013

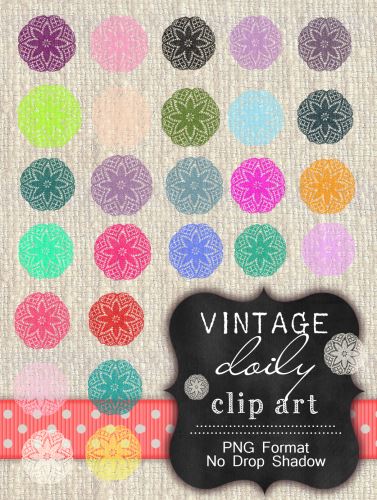
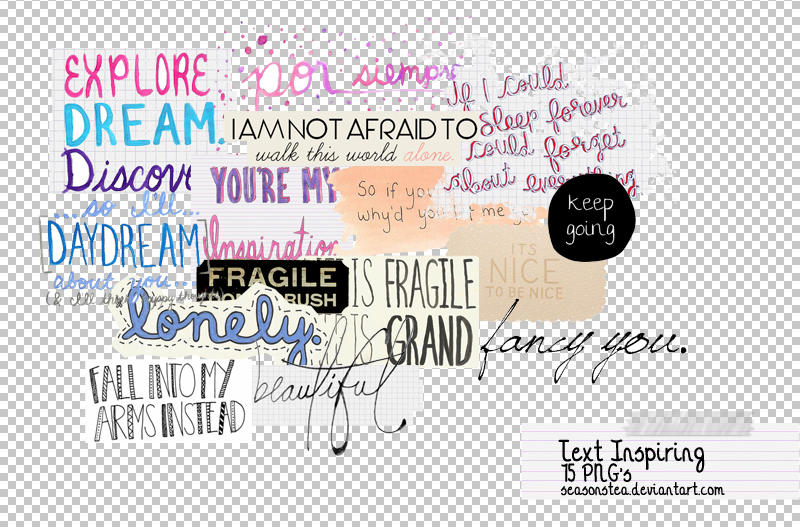
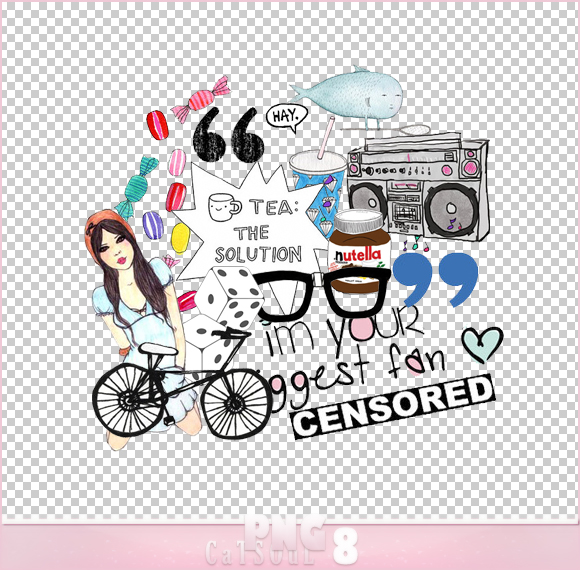
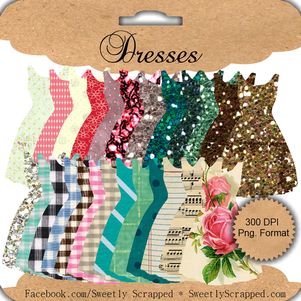
Blog Design: 22 Free Photo Overlays

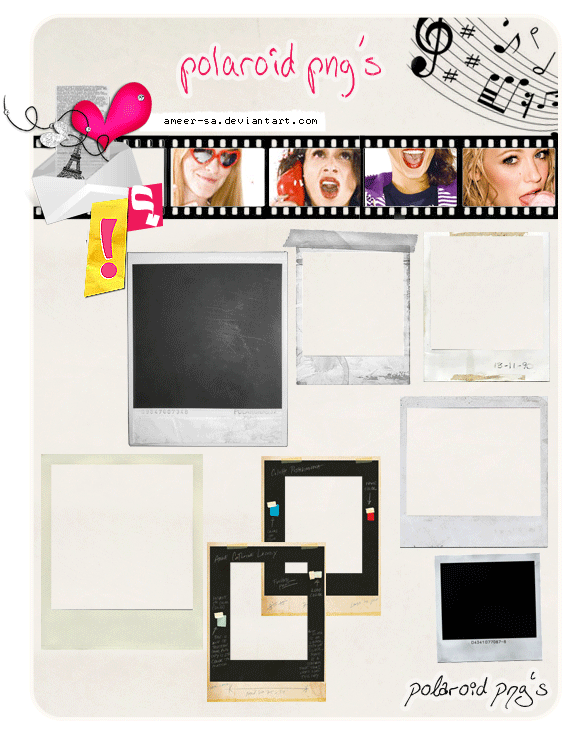
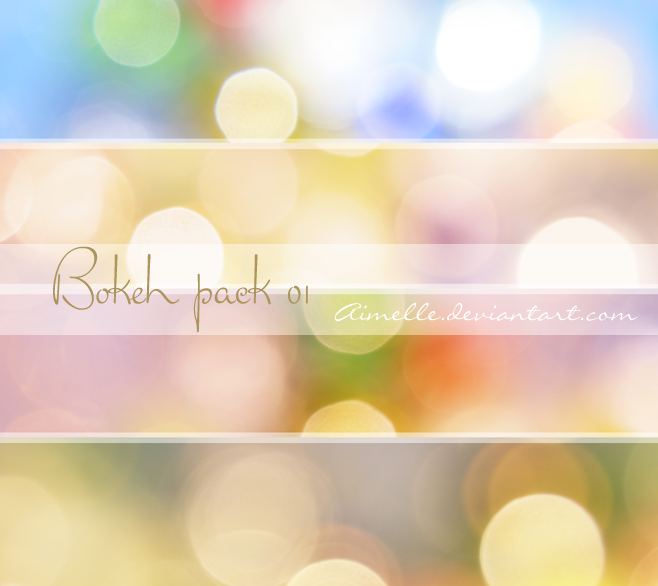
We are all about customizing your blog to make sure it reflects you and your content and attracts the readers you want. Another way you can amp up your blog posts is to add some photo overlays to your photos. What are photo overlays? They are fun images and bits you can add to your photos to personalize them more. I've rounded up 22 photo overlays that are totally free and totally awesome. Not sure how to use photo overlays? Hold tight - a tutorial will be coming soon! Then you too can make awesome photos like this:

Okay or more like this one:


22 Free Photo Overlays 
(also known as blog bling!)


via Sweetly Scrapped

via Olive & Ivy (formerly Yours Truly)


via Olive & Ivy (formerly Yours Truly)


This one has literally hundreds of texture and patterns you can use!


How excited are you now? For real. Check back in a couple weeks for a post on how to use these awesome overlays if you aren't familiar!


Pin It

Friday, March 8, 2013

How To: Make a Blog Picture Watermark using Photoshop

Watermarking. We've all heard of it- we've even seen it on our beloved bloggers' pictures- but how do they do it?? It's got to be easy, right?

Well it is. 

In these following steps, I am going to show you how to make a basic watermark for all of your blog pictures, using Photoshop (my editing photo program of choice). These steps are for a text-based watermark! Believe me, it looks daunting, but it's rather easy! I promise!!! 

Seriously, if I can do this, ANYONE can. Totes.

1.

Like I stated earlier, we'll be using the Photoshop editing program for this How-To :)

So, open your photoshop program and open a new Document:

File > New

I generally like to start on the bigger side of things, always. It is so much easier to shrink something to the size you need rather than try and blow it up. Once saved small, anything blown up will pixelate and look grainy. So, save big, edit to a smaller size if needed- always.

When creating new watermarks (or any other brush for that matter) I like to open a new Document at 1000x1000 pixels wide. Hit "OK" once done.

2.

Once your new Document is opened, we can begin creating your fancy new text-based watermark!

  1. First, select the "Type" tool on the left hand tool bar. 
  2. On the top you'll see your "font" box- by clicking that arrow, a menu will drop down and you can scroll through until you find a font you like best!
  3. Once you found the font you like, click it!
3.


Next we will need to change the font color- I recommend using white or black to begin with- I usually choose black.
  1. On the left hand tool bar click the "Foreground Color Box". A new window will show up.
  2. Drag your cursor to your color- again I suggest starting with white or (my preference) black!
  3. When color is chosen, click "OK".
4.


Next we will need to pick a font size- I generally like to begin with an 8-10pt font size. We will resize this later.

Just click the menu at the top and find the font size you're comfy with.

5.

Now, in your white Document box, click your cursor somewhere on the left hand side. Make sure that "Type" tool on the left hand menu bar is still clicked.

Start typing your desired watermark text. I'm just going to simply do my blog name- Sweet Lavender Bake Shoppe :)

6.

Once finished, click on the "layer 1" box on the right menu to set your text. The box should be highlighted.

7.

Now we will need to resize that text!

  1. With your watermark's layer box highlighted (clicked and set) press buttons "command" and "t" at the same time, on your keyboard. If you're using a PC, you'll press buttons "ctrl" and "t". This will create a box around your text for easy resizing (and moving). You can let go of keyboard buttons now :)
  2. Again on the keyboard, press and hold the "shift" button. While holing that shift button, drag your cursor to the corner of your box and drag out as far as you can go in your white document. When done, let go of mouse cursor and then "shift". By holding the "shift" button, you can resize your picture/text at an equal proportion. If you do not hold "shift" your text/picture can resize disproportionately. If at any time you mess up, just hit "command" and "z" at the same time (ctrl and z for PC) and it will take you back one step. 
  3. Hit enter when sized to your liking. This sets it.
8.


Now we are going to crop our text and get rid of all that extra space.

  1. On the left hand menu, click the "crop" tool. 
  2. Starting at one corner of your text, drag a box around your text, as close to the actual words as possible, without cutting anything off. You can also bring the sides in manually once this box is created OR push them out a bit if you got too close.
  3. When ready, hit "enter" on your keyboard.
Again, remember- if at ANY time you mess up a step- simply hit "command" and "z" on your keyboard at the same time. This will bring you back one step/undo last step :) 

9.


Once cropped, on the top menus, go to:

Select > All

This will select everything you've cropped in your new box/the entire image.

10.

Next, again on those top menus, go to:

Edit > Define Brush Preset

This creates your brush which will become your new text watermark!

11.

A window will pop up asking you to name your new brush. Go ahead and do so :) Hit "OK" when done.

Your watermark brush is now created!

12.

Now for the fun stuff! How to actually use your watermark!

Upload your photo to Photoshop.

  1. Then on the left hand menu bar click on the "brush" tool.
  2. Next, on the right hand side there will be another little menu, click on "brush". 
  3. Scroll through all the possible brushes you can use for future projects ;) until you find your created watermark brush. Look closely! Once found, click it! 
13.

Now...
  1. At the bottom right you'll need to click that "create new layer" button again. By doing this you'll make sure you are creating/editing/having fun with only your watermark created.
  2. Make sure your new layer is highlighted, if it's not- click it. 
14.


Now "stamp" your watermark wherever you'd like! I stamped mine at the bottom left hand corner- it's hard to see because it's black. 

We'll need to change this watermark to another lighter color for this particular picture. Where I wanted my watermark to be, the picture had a lot of dark colors- so black won't work. Remember- because my "foreground color" box shows black, when I "stamp" my watermark it is going to show up black.

With watermark layer still highlighted, go to:

Image > Adjustments > Hue/Saturation

15.


 A window will show up allowing you to change that watermark color!
  1. Play around with those 3 arrows! By moving them left and right you'll see you can choose from a variety of colors! For my watermark, I simply want white. To do so just move that bottom arrow all the way to the right- or until it says "+100".
  2. Viola!
16.


Remember, if you need to move your watermark around, or resize it you can do so by simply pressing "command" and "t" at the same time on your keyboard when your watermark layer is highlighted. Holding "shift" and dragging any corner allows you to resize it, and clicking in the center of your box and dragging around allows you to move it around!

When done, hit "enter"on your keyboard.

Neat right?! 

Once you get this technique down, make sure you play around! There are so many lovely things you can discover, like making a multiple font watermark or image watermark. This is also a great way to make a custom brush for arrows, little banners, fun shapes, etc.

If you have an image you like, you can skip to steps 9 on and basically make the same thing. Just make sure your background of your image is transparent. Making one from scratch on Photoshop will do that for ya!

Got questions? Need help? We're here to help! Just email us and we'll get you back on track in no time!
Pin It

Tuesday, February 19, 2013

Blog Tip: Basic Photo Tips for Bloggers

At some point in you blogging career, you will do some sort of post that will need photos taken by you. Whether it's to show off that yummy dish from the recipe you plan on sharing, product shot of some new items for your shop, to show off your amazing craft skills with you step by step tutorial, etc. What ever it may be, at some point you should plan on taking pictures. Bet you didn't think you would add photographer to your skill set when starting a blog.
Now I wont get super technical here, just give you some basic tips to help get you started with simple shots you might need to get you by. I am going to show you how I take a good majority of my blog photos and what steps I use to achieve a simple yet great looking photo. For about 90% of my photos, I use my DSLR camera and then edit in my photo editing program (Lightroom) on my computer, the other 10% are taken with my iPhone and edited with a photo app. So I thought I would share just a few tips using both.

Basic Photo Blog Props
 To keep this very basic there are really only 2 things you need other than the item being photographed.
  1. LOTS of BRIGHT NATURAL LIGHT! The perfect set up is next to some bright windows or sliding glass doors. This helps give your photo nice light with out harsh shadows and wonky lighting.
  2. You can either get a tri-fold white foam board or a plain white poster board. This will be your background/backdrop for your photos. I like the tri-fold because it has a large open space for multiple items and you can set it up several was depending on how you are shooting. The white helps bounce the light around the image and I just like the crisp, clean look it gives to the photos. Looks less busy when I have it all posted on the blog.
  • This isn't necessary, but I would suggest investing in a tripod as well. You can get really inexpensive one if you shop around. It will help to keep your shot still and less blurry.
 And that's it for materials needed when taking your photos. Pretty basic and wont break your wallet. As you get more comfortable with the picture taking aspect of blogging you can branch out and experiment with different backdrops. I have plans to make some using reclaimed wood - the possibilities are endless really.

Camera Adjustments
 If you know your way around your camera, then this next step is again pretty basic. If you have a nice DSLR camera and haven't got a clue how to use it... I suggest getting to know your camera a little bit better - pull out the manual, watch YouTube videos, take classes, or just use your camera and mess around with it to get a feel for how it can work in different settings. Like I said, these are just basic steps, nothing too technical. Now when shooting I always check how my camera is shooting in the area it's in and just do a quick shot to see how the lighting is. Most of the time to achieve the look I want with out getting too technical, all I do is adjust the shutter speed. This is basically adjusting how much light you are capturing in your photo. 

 The setting wont be perfect for every shoot you do, so always make sure you do some test shots before you get to far in. This is just an example of too dark or too bright. The bigger the bottom number (800) the darker the photo will be, the smaller the bottom number (2) the brighter the photo will be.  And every camera is different, so do be scared to refer back to your manual or look it up. Once you get it down, it will become one of those automatic steps you just do.

Now you're ready to shoot! Take lot of photos, use different angles, get close-ups, take some wide shots, play around with the set up you have. It's better to take more photos while you are there in the moment then wishing you did after you have packed everything and you're sitting there ready to write up your post.

No Natural Light...

This is an example of how not to take your photos. In a dark hallway, with no natural light. While there is light coming from the lights, they don't photograph well.


These 3 photos I showed how I tried to adjust the shutter speed to capture more light. While it did get better lighting as I adjusted, you can still see the lighting is a little wonky. You can try and fix it out of camera in an editing program, but there's no guarantee that it will be a nice crisp photo.

So here are the results from my basic shoot. One is straight out of the camera with no editing and the other has slight editing is a photo program. NOTE: If you don't have a photo program on your computer, there are tons of online editing tools that can give you the same effect of editing: PicMonkey  and Pixlr are 2 that I use often.
This is straight out of the camera. No editing what so ever. You can see by making those simple camera adjustments, I can basically get away with out editing if I wanted too.
This is the edited version. Not much difference really. I usually sharpen the image just a tad and it's usually good to go.
Using iPhone
So here are some simple tips to use when shooting with just your iPhone. Still set everything up like I mentioned in the beginning of this post with your photo props and backdrops, that will stay the same. Now grab your phone and get ready to shoot.
When shooting with your iPhone, there are 2 basic tips to know: How to lighten and darken your image.
  1. When ever your image looks like it is going to be too bright, touch the lightest area on your screen and  it will adjust the lighting so it is a bit darker. Some times if it's too bright you can't see any of the details you are wanting to shoot, so darkening the image will help focus in on those darker details.
  2. If when you are shooting and the image is far too dark for your liking, touch the darkest area on the screen and the image will readjust so the image is brighter. This is usually how I like to shoot my images if I am using my iPhone. It looks brighter and cleaner.
Here are the results I got when using my iPhone to shoot.
This is the image with out a touch of extra editing. While it looks okay, it's a tad dark for my liking.
Here is a look at the same photo that is edited. I use the VSCO app for majority of my editing. I adjust the highlights, shadows, and sharpen it up a bit.
There you have it. So simple and basic tips to take with you when you go to shoot for your next blog post. I hope that wasn't too confusing. If you have any questions about anything, feel free to leave a comment below.


Pin It